I started this project out of sheer necessity, my door speakers were blown in my work van and my factory head unit was a bit behind the times. No CD player, no iPhone hook up oh the terror. So I purchase an Alpine CDE-121 head unit with iPod controls along with some front door speakers. I went with the 6.5 Polk Audio db651 coaxial speakers for the doors and some 5.25 Polk Audio db521 for the rears. Problem is there is no where to put rear speakers in a work van with a cage. So I decided to build a fiberglass speaker pod to house the two 5.25 Polk Audio speakers.
This is where I intend to put the speaker pod between the seats as close to the roof as possible

First I started with some MDF trim rings. Using a Dremel with the router attachment I made 2 MDF rings. I simply measured the circumference of the grill that protects the speaker. I routed a trim ring a little larger than the circumference of grill itself then routed a recessed area for the grill to sit down into the trim ring. I then used a hole saw to make the cutout for the actual speaker. Here is a picture of the MDF trim rings and tools I made them with.

I will be updating this blog post with my progression as I build the pods so check back for lots of pictures of my project with a full detailed materials list.
1-9-2012 Update
So I gathered all of the ingredients for the speaker pod today. In the picture is the MDF Rings, Screws, Primer Paint, High Gloss White Paint, Bondo, Fiberglass Resin, Super Jersey Mat Cloth and the Metal back Strap i ended up not using.

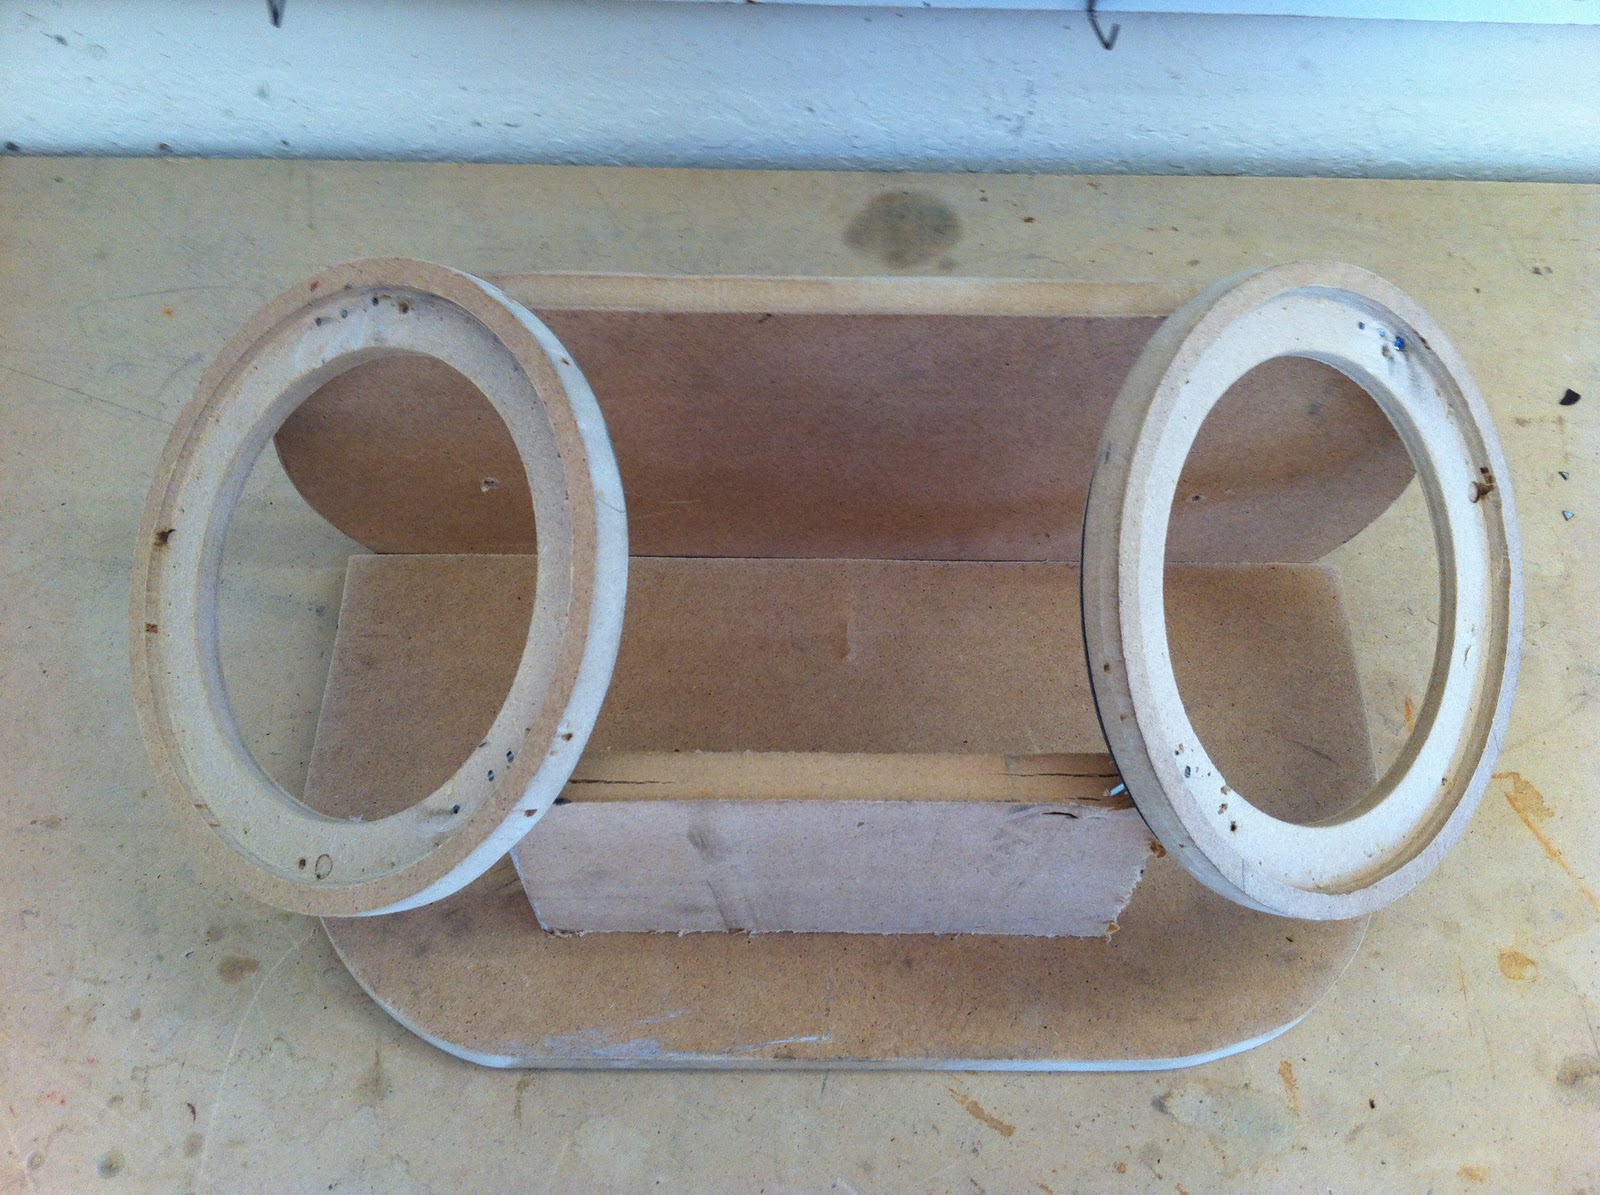
I then made a frame out of MDF to hold the rings in place and give the pod its' overall shape. Here it is.
I then wrapped the frame with the Super Jersey Mat, this fabric is ideal for fiber-glassing because it is a good thickness, and it stretches in both directions.

I then simply mixed the fiberglass resin and painted the liquid on. I try to get this step as smooth as possible as it makes it easier to sand and bondo later. It is always best to use clothes you do not care if you ruin them, wear some gloves and a mask will not hurt.

Now the waiting game begins, I will let this sit overnight then I will cut a hole where the speakers will go and apply some fiberglass resin to the inside of the pod then I will apply a second coat to the outside. More pics to follow.
Update 1/10/2010
After the second coat of fiberglass cured I cut the speaker holes out and lined the inside with fiberglass cloth to reinforce the entire structure. I also gave it its first sanding.

I then applied some Bondo, got a little carried away with the Bondo.

The rear view.

Test fitted the Speaker Grills

This is the type of screw I will be using to hold the speaker in.

I couldn't resist after giving the whole pod a good sanding I went ahead and installed it in the van to see what it sounded like. It sounds amazing. I have to work for the rest of the week so I would not have a chance to work on the pod anyway so I might as well enjoy it.

Final sanding and paint to come later.
Video of the Speaker Pod in action along with my busted MTX 6000 10" subwoofer.
I got so tired of listening to this busted ass subwoofer I decided to blow it up.
No comments:
Post a Comment